• Download WinSCP from http://winscp.net/eng/download.php.
• Select the latest version of WinSCP and click on "Installation package".
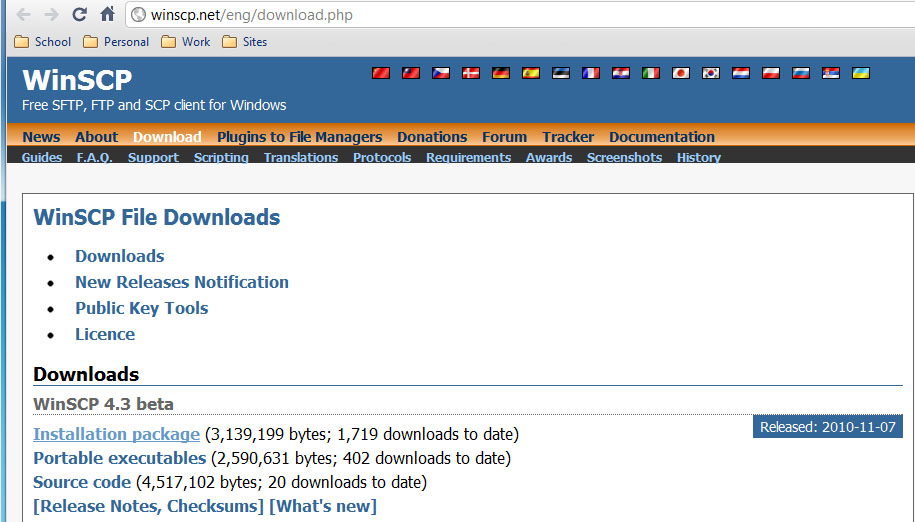
• Save the file to the desktop.
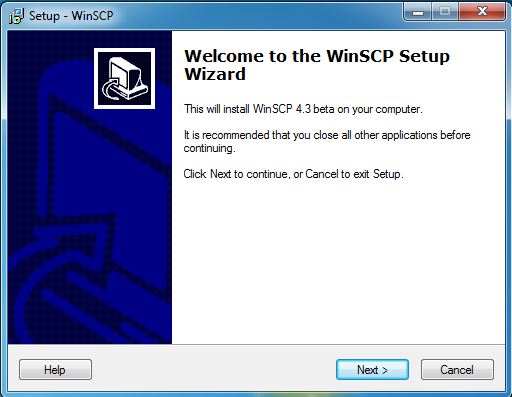
• Double-click the WinSCP icon to start the installation wizard.
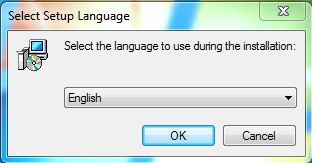
• Select English and press the OK button to continue.
• Click on Next.
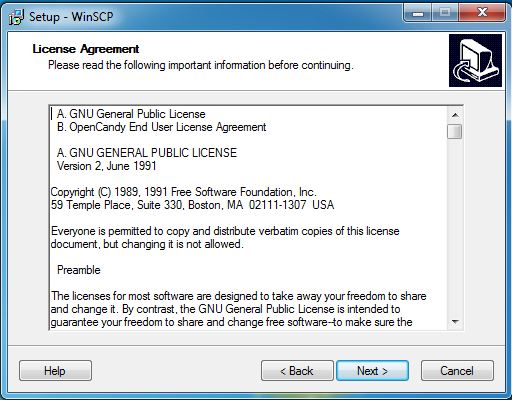
• Click on Next to agree to the license Agreement.
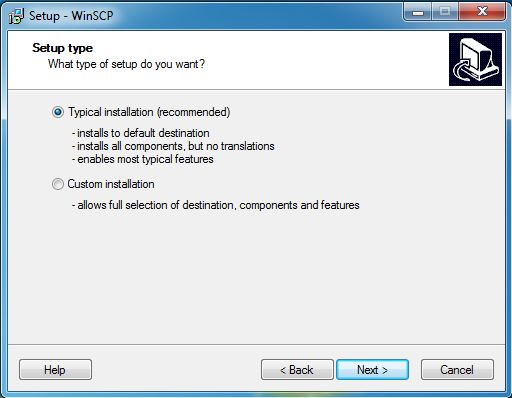
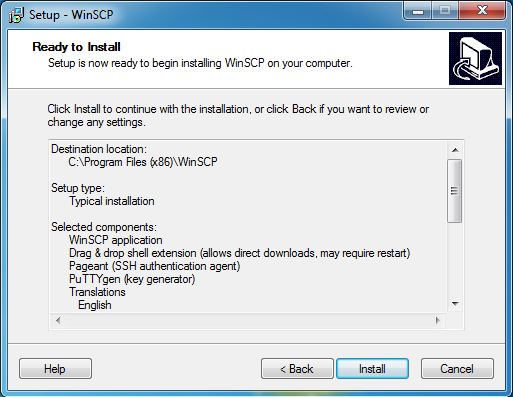
• Select "Typical installation" and then click on Next.
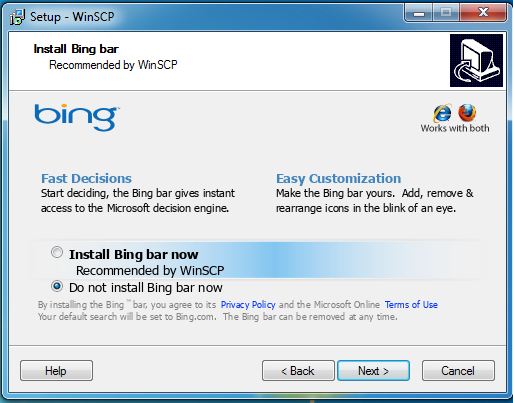
• You don't need to install any additional tools for IE. Click on Next.
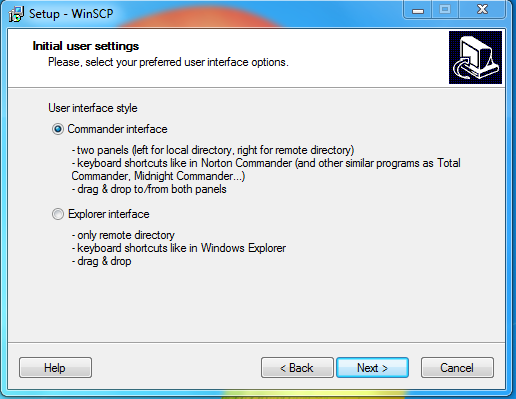
• Select the "Commander interface" and click on Next.
• Click on Install to start the installation.
• This begins the install which might take a few minutes.
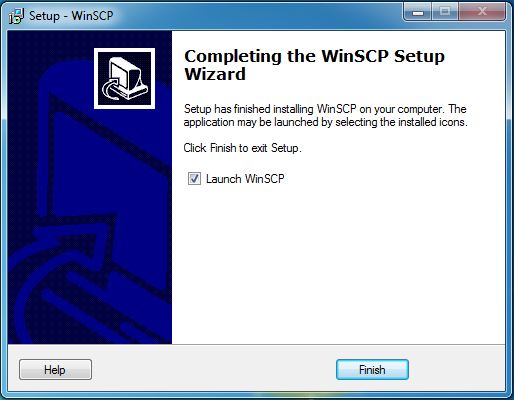
• Be patient and wait for the completion screen.
• Double click on the WinSCP shortcut on the desktop as shown in the picture.

• If the shortcut isn't on the desktop, open the program by clicking on the Start Menu, selecting Programs and selecting WinSCP.
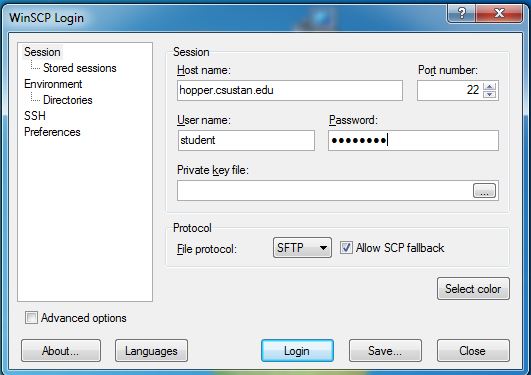
• In the Host name field, enter the name of any of the following computers:
ada.csustan.edu, kestrel.csustan.edu, chomsky.csustan.edu,
godel.csustan.edu, hopper.csustan.edu, linus.csustan.edu,
pascal.csustan.edu, turing.csustan.edu, wozniak.csustan.edu
• Enter your CS user name and password in the appropriate fields.
• Click on the login button when finished.
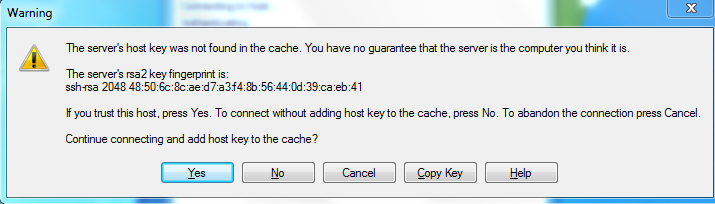
• The following screen will pop up the first time you connect to a computer. You may verify the fingerprint at http://www.cs.csustan.edu/resources_files/fingerprints.html.
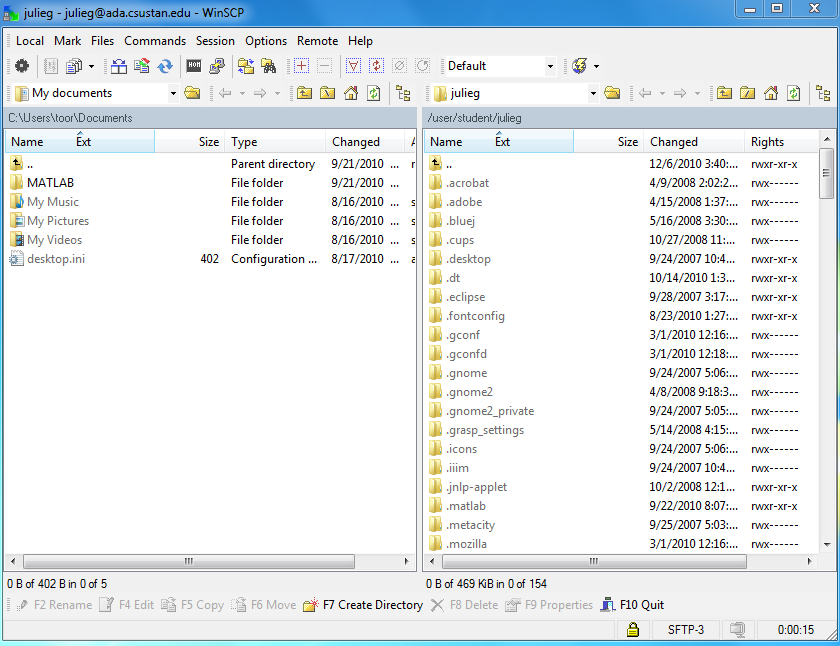
• You are now connected to a computer in the CS lab.
• You may transfer files to the CS computer by dragging your file to the right window.
• You may get files from the CS computer by dragging files to your desktop or to the left window.